Australian Red Gum Large Timber Slabs for sale Brisbane
Really Good Timber Slabs Aren’t Cheap & Nor Should They Be.
Let’s take a look why timber slabs aren’t cheap and nor should they be.
Otherwise everyone would be using timber slabs and timber would all be used up in a single generation.
Quality always wins.
 Good timber is getting harder to get.. especially if it is large size forest Red Gum.
Even though it sounds simple, coming up with quality products that you will be proud to have as a show piece in your home or backyard BBQ and fire pit area takes time and patience.
For example, the guys who dealt with my timber slabs started work in a sawmill when they left school way back in the 1970’s.
They still do it the old school way old trucks and chainsaws and old sawmills.
Old style beautiful high quality Australian Red Gum timber slabs are the result.
This was back when men were men! You didn’t talk trash to these guys.
They were tough as nails and worked all day to support their family. Blood, sweat, and determination.
Many had come from a lineage of timber families who around the turn of the 20th Century had moved around in the Australian bush as work demanded.
Often building their simple houses as cheaply and as quickly as possible, and as close to water as well – pun intended.
They perfected the timber slab hut, of split timber slabs with a galvanized roof.
Like some of the the old neck ties in my wardrobe these timber slab dwellings are coming back into vogue with demand for tiny houses and weekend hideaways increasing.
One recent inquiry we received for timber slabs for sale in Brisbane said:
“hi those slabs look great I was just wondering how you guys dry your slabs and weather splitting or cracking is just inevitable or can you prevent it and if so whats the best way to go about it?“
We love this type of feedback and questions.
There really is no magic or mystery to it.
Once the tree was chopped down and cut into large timber slabs the timber slabs then had to be dried out in the air to lower its moisture content (MC) to around 14% which means that the timber slab will not shrink and split and thus ruin the overall look and quality of the timber slabs.
The rule of thumb was, and still is, about 1 inch per year to dry properly.
Of course to keep the timber slabs nice and straight while drying the timber needs to be stacked on flat ground with equal size timber spacers evenly placed along the full length to ensure it dries straight.
In fact timber slabs will dry to the exact shape that they are laid down in.
 Over my 50 years love of timber I haven’t ever seen much demand for crooked lengths of timber!
Deliberate and beautiful curved natural edge timber yes, but crocked timber – no.
The timber once stacked needs to be tied down tightly with rope and straps and then covered from the elements and left in peace to dry naturally.
In my case the red gum timber slabs have been air dried for 12 years.
Now there are many innovations in drying timber slabs and kiln drying is becoming more and more accepted and demand is increasing because of reduced drying times.
These driers are fast and efficient and with the world’s insatiable appetite for timber increasing no doubt there will be more attention on such innovations in the future.
The large timber slabs we have are at 14% MC and ideal for timber slab furniture, timber slab table tops, wine bars or even a live edge timber slab board table.
Large Timber slabs, especially Australia bush red gum are getting hard to find.
If you are after large or natural timber slabs that are ideal fro your slab furniture project in the Brisbane area, then come and see us today!
Let’s celebrate Australian timber, keep the industry safe and sustainable species and everyone benefits.
Onward s and upwards, the world will be an even more beautiful place!
For further information regarding the purchase of Australian Red Gum Large Timber Slabs for sale in Brisbane contact David at AAA Timber on 07 3376 8188
To see our range of Natural Edge Timber Slabs In Brisbane, click here

 And the same natural edge timber slabs are also very popular around outdoor fire pits and BBQ areas.
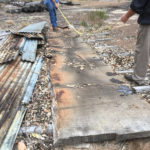 This time around the emphasis is on a more natural look with live edges timber slabs featuring strongly.
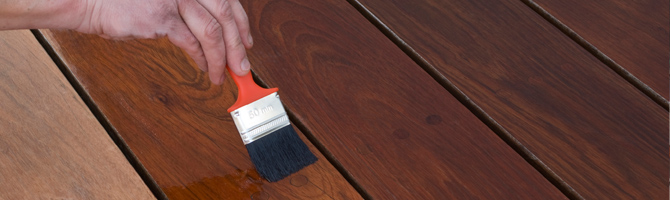
 Danish Oil
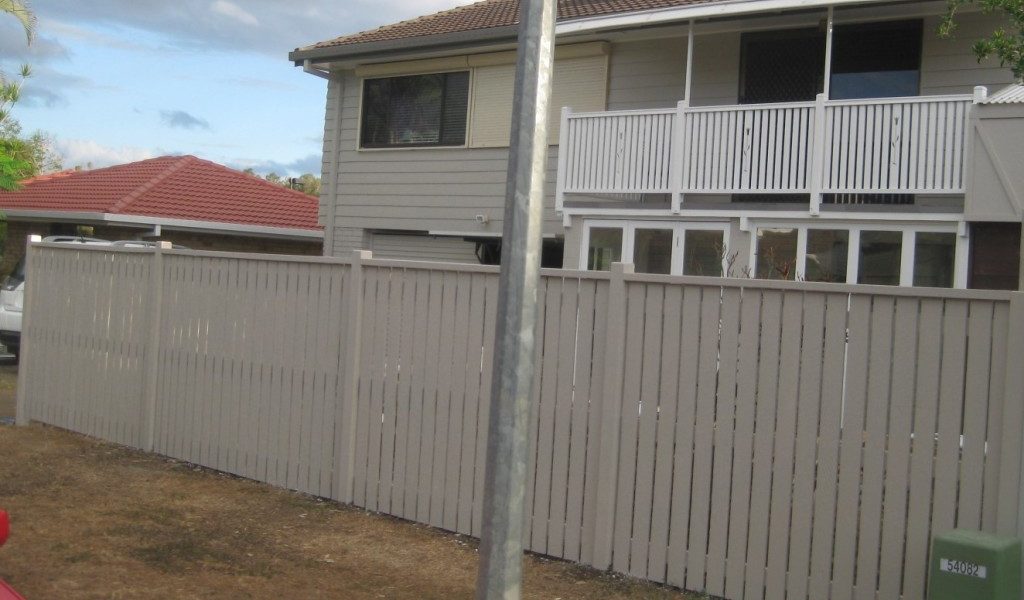
 But now he has joined the wonderful world of home ownership he has discovered that having his old man as free labour (well the fee is a few cold ones) and adding some elbow grease of his own that he can keep the costs of timber fence building down considerably. A carpenter mate also turned up to help.
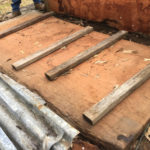
 Whenever you have timber meeting soil in the ground it needs to be treated before contact to keep bugs, termites and rot from ruining it. In times gone by I can remember on my Uncles farm they used to burn and char the ends of the timber fence posts that were going in the ground. They also used a 50-50 mix of old engine oil and diesel which must have worked because many of those fences still stand over half a century later.
 The next weekend rolled around quickly and once again we got stuck in early. We spent quite a while getting our string lines dead straight and painted dead centre for each fence post on the ground. The time taken to set up, level, straight and square always pays dividends as nothing looks worse than a crooked wobbly front fence.
 It is well accepted that too many joins on one fence post isn’t good practice as it may weaken that fence post. Staggered joins are better so we then set the timber fence railings out and cut them to length so any join would meet exactly in the middle of the post. 60 mm 10-gauge Fence railing battens were then drilled and driven in to hold the fence railings tight and straight. At the same time, we worked on an 8m long 1800mm high fence on the neighbours side.
 We also hung and hinged two pre-made galvanized gate frames on the driveway side and put in a brand-new post box. As it happened when I was standing outside planning how to cut the post box hole out of the fence palings the Postie came by on his motor scooter and we were able to locate the new post box at exactly the height he preferred. I then added a nice brass number to the drive-side fence post and job done!